Every thing need to grow and fruit your own mushrooms
Step One: Preparing your working environment Work area with a SAB (still air box) is using. Turning off the Furnace/AC or other fans 30 minutes prior to work time will ensure still air by reducing movement of particles in the area of your work environment. Mix the appropriate ISO alcohol with the cleanest water available to create 70% ISO to water ratio in a spray bottle. The ratio for the 800ml bottle provided is 560ml of 99% iso to 240ml of the water acquired. Step Two: Cleaning your self and your Environment If you are working on or in a high traffic area you may consider doing a moderate cleaning first. Take a Shower. Wipe down all materials being touched initially. Step Three: “Inoculation” Before beginning the process, a 2-5 minute “surgeon scrub” is recommended on the hands and forearms. Wearing gloves and a mask is also recommended. Remove grain from packaging and other materials from packaging, except a sterile needle if included. Before “inoculating” wipe down the bag and injection port. Step Four: Colonization & Spawning After the grain is 70-80% colonized, break it up inside the bag and spread the mycelium out and check for contamination. After the grain is 100% colonized with no exceptions it’s ready. Proceed to dump 3/4 of the substrate bag, leaving 1/4 of the substrate for last. Then dump colonized grain into the liner inside of the tub. Spread it around after breaking it up and thoroughly mixing the grain amongst the substrate. Then cover the remaining exposed grain with the 1/4 of substrate you saved. Latch or tape the lid top on and leave it sealed until optimal picking age. Step Five: Fruiting Green Rooster Gourmets Dub Tub is designed to be sealed with electrical tape and left alone until harvest. This creates an environment that is preferred by most specimens. Maintain the temperature at 65-78 degrees Fahrenheit and have light showing them to grow up for 6-12 hours of the day. Step Six: Harvesting Twisting and pulling, cutting at the base, or ripping them off are all acceptable methods of removing fruit. It is ideal to place the fruit on a 12 hour dry cycle using a dehydrator. The oven can be used to dry as well, at 200 degrees on an oven rack with the oven door cracked open. The goal is for there to be no remaining moisture in the fruit. Silica beads can be added to prevent problems. It is not recommended to consume products produced from contaminated media. Post harvest, if there is no contamination you may attempt another “flush” by completely removing all leftover grown material, submerging the media brick in the cleanest water possible to rehydrate it for 6 hours, drain off the metabolites in water and place the top back on.
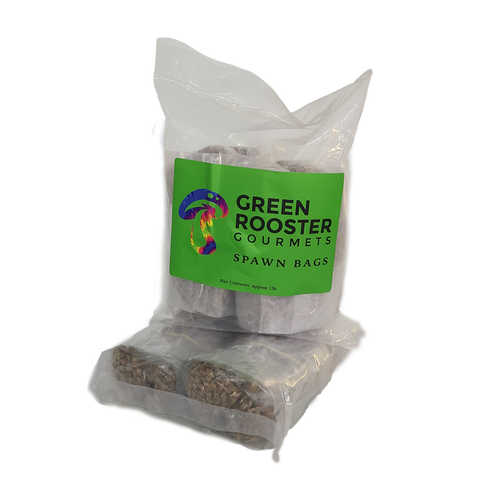
Contents Included: Modified 51 Liter Tub with gasket, ~1lb Grain Bag x2, ~ 5 Lb Substrate Bag x2, Micropore tape roll, gloves, spray bottle, tub liner, masks x2
Purchased Separately: Gloves,99% Isopropyl alcohol, RODI or Distilled or Filtered Water, “inoculation” contents of your choosing, SAB better known as (still air box) can be useful in decreasing the risk of contamination, although is not necessary.